
Guide to the Elden Ring Godslayer Faith Build

Today, with another exhilarating Elden Ring Build, this time, we’re diving deep into the realm of Faith. Focused on the awe-inspiring Godslayer incantations, this build has become even more formidable after the recent buffs in patch 1.04. Join me as we explore the intricacies of this Faith build, highlighting the unique characteristics of its incantations and weapons, and offering guidance on character development from the early stages of the game.

Godslayer Incantations and Faith Seals:

The foundation of this Faith build rests on the powerful Godslayer incantations, channeled through the Godslayer’s Seal. This seal not only stands out as one of the best pure faith seals but also enhances the potency of Godslayer Incantations by 10%. Moreover, equipping two seals can further stack up, intensifying the offensive capabilities of your incantations. It’s important to note that the Godslayer’s Seal doesn’t enhance Black Flame’s Protection, despite being a Godslayer Incantation.

Black Flame Incantation:

Our journey into the Godslayer Faith Build begins with the formidable Black Flame Incantation. This incantation unleashes a ball of raging black fire, dealing substantial fire damage. With the ability to charge the Black Flame, increasing its damage and causing a powerful explosion on impact, it proves effective against enemies with large health pools. The recent buffs in patch 1.04 have elevated its damage and improved its ability to break enemy guards, making it a reliable choice.

To obtain the Black Flame Incantation and the Godslayer’s Seal early in the game, a trip to Stormveil Castle is in order. From the Rampart Tower grace location, navigate to the rooftop of the next building, clear the rats in the cellar, and use a Stonesword key to access the chests containing the seal and the Godskin Prayerbook.

Scouring Black Flame and Black Flame Ritual:

The second incantation in our arsenal is the Scouring Black Flame. Sweeping the area in front of you with a black flame, it deals high fire damage and inflicts damage over time effect similar to the Black Flame Incantation. Patch 1.04 brought significant improvements, including decreased FP cost, recovery time, increased attack range, and area of effect.

For the Black Flame Ritual, summoning a circle of black flame pillars around your character proves invaluable against large enemies, creating an impenetrable barrier and dealing with constant damage. Patch 1.04 reduced its FP cost and increased damage. To obtain the Black Flame Ritual incantation, head to the Spiritcaller Cave and defeat the Godskin Nobles summons.

Notable Exclusions:

While there are other related incantations like Black Flame Blade and Noble Presence, careful consideration led to their exclusion from the build due to certain limitations. Black Flame Blade, though providing fire damage and damage over time effect, felt cumbersome with its short duration. Noble Presence, while powerful, suffered from short-range and long cast time issues.

Melee Weapons:

For our melee weapons, we’ve chosen the Godskin Peeler and The Godslayer’s Great Sword. The Godskin Peeler, accompanied by the Black Flame Tornado Ash of War, summons a tornado of black flame with a wide range, dealing substantial fire damage. Until obtaining the Black Flame Tornado Ash of War, The Godslayer’s Great Sword serves as a reliable alternative with its exceptional damage, fast moveset, and improvements in patch 1.04.

Character Progression:

To assist you in developing this Faith build from scratch, kimochaser suggests starting as a Vagabond or Confessor. Early to mid-game, use Radagon’s Soreseal to meet melee weapon requirements while focusing on the faith attribute. By level 50, aim for 20 Vigor, 18 Mind, 13 Endurance, 15 Strength, 17 Dexterity, and 30 Faith. At level 100, push Vigor and Faith to 40 and 60, respectively, and gradually remove Radagon’s Soreseal.

Equipment and Talismans:

The recommended Elden Ring Items include the Blackflame Monk set and Knight Greaves, obtainable from the Divine Tower of Caelid. Talismans like the Fire Scorpion Charm, Flock’s Canvas Talisman, Godfrey Icon, and optional choices such as Shard of Alexander enhance your damage and provide additional benefits.

Wondrous Physick Flask Tears:

Enhance your build with Flame-Shrouding Cracked Tear for +20% fire damage and Stonebarb Cracked Tear to break enemy stances more easily.

Incantations for Further Improvement:

Golden Vow, Howl of Shabriri, Flame, Grant Me Strength, and Black Flame’s Protection can be incorporated to boost your build, each offering unique advantages. Howl of Shabriri and Flame, grant me strength don’t stack, so choose based on your preferences.

Conclusion:

As with any build, the Godslayer Faith Build has its limitations, but its prowess is undeniable. With this comprehensive guide, you’re now equipped to embark on an Elden Ring journey fueled by faith and incantations. Thanks for joining us, and may your adventures in the Lands Between being legendary!

Want to complete your Godslayer Faith Build quickly? Buy Elden Ring Runes from mmoexp.com to make your journey easier. I wish you a happy game.

The Dominance of Francisca Axes in Dark and Darker

As my experience with Dark and Darker deepens, I find myself grappling with a dilemma that has become increasingly prominent in my gameplay – the role of Francisca axes in winning melee fights. From initially neglecting them to now cluttering my inventory with these potent weapons, the impact on my win rate has been so significant that looting becomes a hesitancy, fearing the loss of these valuable axes.

The question that looms large is whether Francisca axes have become a virtual necessity for emerging victorious in melee encounters. What began as a casual inclusion of 6-9 axes has evolved into an obsession, with my inventory brimming with these formidable throwing weapons. The noticeable spike in my success rate during fights is undeniable, leading to a conundrum where the fear of losing axes competes with the desire to engage in combat.

Finding a balance in the game’s mechanics to address this issue seems challenging. While it feels inherently wrong to abandon traditional melee engagement as a fighter in favor of hurling projectiles from a safe distance, the effectiveness of this strategy cannot be overstated. The reliability of Francisca axes in guaranteeing an advantage over opponents, arguably surpassing crossbows due to minimal downtime and mobility hindrance from reloading, has shifted the dynamics of combat significantly.

Indeed, the use of Francisca axes parallels the necessity of bringing potions and bandages for healing – a trade of in-game currency for a tangible power advantage. Those who abstain from this practice find themselves at a distinct disadvantage against opponents who engage in the exchange of Dark and Darker gold for increased combat prowess. This dynamic underlines the pivotal role these axes play in the current state of the game.

As one confronts more formidable adversaries, the prelude to melee combat involves an exhaustive discharge of every available ranged option. The strategy is clear: weaken the opponent before engaging in close-quarters combat to enhance the chances of emerging victorious. Opting for ranged attacks not only mitigates the need for a direct exchange of blows but also hampers the opponent’s escape options in the aftermath of the confrontation.

A historical perspective reveals that, in the seasons preceding the current one, barbarians and rogues routinely entered battles with their inventories overflowing with axes and medical supplies. The elite few took it a step further, having teammates stockpile throwables for them, creating a cache of weaponry for individual use. While most fighters often dismissed this approach, deeming it unnecessary for their typical encounters, the effectiveness of the strategy cannot be denied.

One aspect of the current ranked system that leaves a bitter taste is the perceived division between PvE AP grinders and PvP enthusiasts. The majority of PvP engagements feel unbalanced, leaning towards those who prioritize gear acquisition over combat proficiency. This division undermines the essence of PvP, making it more one-sided than the previous emphasis on equipment quality.

In conclusion, the prevalence of Francisca axes and their impact on combat dynamics raises intriguing questions about the evolving meta in Dark and Darker. As players grapple with the trade-offs between traditional melee engagement and the allure of ranged dominance, it becomes imperative for game developers to reassess the balance and design to ensure a more nuanced and satisfying PvP experience for all.

Throne and Liberty: Guide to Armor Upgrading

Greetings, fellow adventurers! In this installment, we’ll delve into the intricacies of armor upgrading, ensuring you emerge victorious in battle with the coveted Chad armor. Join me on this quick journey to unlock the secrets of enhancing your gear and defeating foes with style.

Location and Contract Coins:

Every day when you log into the game, make your way to Vienta Village, where the Contract Coin Merchant awaits. Located near the village center, this essential NPC is the key to acquiring the resources needed for armor upgrades. No guild membership is required for this process.

Contract coins are earned by completing contracts, and you can amass them by actively participating in various game activities. In addition, a separate article on contracts is promised, where their intricacies will be explored further. These coins can then be exchanged for growth stones, the vital components for leveling up your armor.

Armor Growth Stones:

The growth stones come in different varieties, each serving a specific purpose in the enhancement process. The three main types are quality weapon growth stones, quality armor growth stones, and quality accessory growth stones. Purchasable from the Contract Coin Merchant, these stones are the linchpin of your armor upgrading strategy.

Intriguingly, there are rare variants of these stones, but acquiring them is more challenging due to their scarcity. However, the benefits they offer are substantial, making them worthwhile investments for leveling up higher-tier armor and accessories.

Crafting and Upgrading:

To kickstart the armor upgrading process, visit the armor crafter in Vienta Village. Here, you can find various armor pieces and accessories available for crafting. The upgrade path includes blue, purple, and even higher-tier armor, each requiring specific growth stones.

The crafting process involves using armor materials, which can be obtained by spending gold. The real magic happens when you upgrade these growth stones from the basic green to the advanced blue and then to the elusive purple. Remember, upgrading higher-tier armor requires growth stones of the same tier.

Live Upgrade Demonstration:

In a live demonstration, our content creator showcases the process of leveling up a piece of armor. With a level 4 headpiece in hand, the goal is to reach level 5 for enhanced stats. Emphasizes the importance of daily purchases of growth stones from the Contract Coin Merchant, as they replenish every 24 hours.

The crafting of growth stones involves a Throne and Liberty Lucent investment, and higher-tier stones may require additional rare materials. Each upgrade attempt has a success rate, influenced by the type of growth stone used. Common, intermediate, greater, and special success rates determine the amount of experience gained.

Accessories and Beyond:

The upgrading process extends beyond armor to include accessories. Demonstrates how to upgrade a belt, emphasizing the need for growth stones specific to the accessory category. The importance of balancing upgrades across all equipment is highlighted, ensuring a well-rounded and formidable character.

Quests and Exploration:

To augment your growth stone collection, engaging in exploration content and completing quests is crucial. Briefly touches on the benefits of regional exploration quests, which reward growth stones upon completion. These quests offer a variety of growth stones, allowing players to choose between weapons, armor, and accessories based on their needs.

Event Opportunities:

An ongoing festival event in the game provides an additional avenue for acquiring growth stones. By participating in dungeons and accumulating event coins, players can purchase more growth stones to expedite their upgrading process. The availability of different stones allows for strategic choices based on individual progression goals.

Conclusion:

This comprehensive guide has demystified the armor upgrading process in Throne and Liberty. From daily contracts to crafting growth stones and strategic upgrading, players now know how to fortify their characters and face the challenges that await in the realm.

As the game evolves, promises more in-depth content on contracts, exploration, and additional facets of the gaming experience. Whether you prefer short and informative articles or longer, more detailed content, your commitment to delivering valuable insights remains unwavering. Stay tuned for more tips and tricks as you embark on your Throne and Liberty journey. And buy TL Lucent through MMOexp website, you will get more discounts.

Unveiling the Trader Objectives Bug in EA FC 24: A Step-by-Step Guide for Success

For those still embarking on the Trader objectives in EA FC 24, a crucial public service announcement emerges — the objective is still plagued by a bug. Fear not, for here’s a detailed guide on how to circumvent the issue and ensure the completion of these objectives without a hitch.

  • Initial Completion:
    Start by completing and claiming all the Trader objectives the first time around in the conventional manner. This serves as the foundation for the workaround.
  • Strategic Purchase:
    Invest in a bronze player for a mere 200 coins. Optimal strategy involves selecting a player from the first page, comparing prices, and snagging another one for 200 coins with approximately 5 minutes remaining.
  • Buy Objectives Unlocked:
    As soon as the purchase is made, you’ll witness the accomplishment of all the buy objectives.
  • Listing for Sale:
    List the acquired bronze player back on the transfer market for any desired amount. This action instantaneously fulfills the sell objectives.
  • Sell Objectives Unlocked:
    Witness the completion of all the sell objectives as your listed player finds a new home.
  • Claiming Rewards and Opening Player Picks:
    With both buy and sell objectives accomplished, claim your well-earned prizes and proceed to open the player picks.
  • Repeat the Process:
    Return to step 2 and repeat the strategic purchase, listing, and selling cycle until you successfully claim all your rewards.

The process, as outlined, serves as a workaround for the bugged Trader objectives. Executing this method on the app has been confirmed to yield positive results. While the standard approach to completing the objectives is a tad tedious, this workaround ensures a swift and efficient resolution, albeit leaving you with a surplus of bronze players on your transfer list.

A vital reminder: While this method provides a practical solution, it’s essential to note that it can’t be endlessly repeated. The objective itself delineates its limitations, and users are encouraged to heed this specification.

Furthermore, for those seeking alternative filters for player purchases, consider exploring silvers from Ligue 1 priced at 300 FC 24 coins. This method has proven fruitful, with numerous options boasting 30+ minutes on the market. List these players for 400 coins, enticing lazy sellers, and witness them swiftly sell at your desired price, ensuring you don’t incur any losses in the process.

In conclusion, this step-by-step guide serves as a beacon of hope for those grappling with the Trader objectives bug in EA FC 24. By adhering to this workaround, players can navigate the glitch, complete the objectives efficiently, and reap the rewards, turning what might have been a frustrating bug into an opportunity for strategic gain.

The Ultimate Ironman’s Guide to Herblore in Old School RuneScape

Old School RuneScape offers a unique challenge with its various account types, and one of the most demanding is the Ultimate Ironman. With limited storage space and the inability to trade or bank items, Ultimate Ironmen face an arduous task in training the Herblore skill. This guide will provide insights and strategies for Ultimate Ironmen looking to conquer the Herblore skill, highlighting the experiences of Schnoblin, an accomplished Ultimate Ironman.

Embrace the Challenge:
Understand that training Herblore as an Ultimate Ironman is a slow and complicated process. While it may seem daunting, Schnoblin emphasizes that it can be an interesting and rewarding journey. Be prepared for a long-term commitment and a unique gameplay experience.

Herb Gathering:
Gathering herbs is a crucial part of Herblore training. Chaos Druids are an excellent source of herbs, with drops ranging from 150,000 to 300,000 kills. Take advantage of Slayer tasks and Farming skill to acquire additional herbs and seeds. Thieving can also provide seeds for farming.

Utilize Herb Types:
Each herb type has its own value and purpose. Irit leaves are considered the “god tier herb” due to their valuable secondary ingredient. Ranarr-infused prayer potions are highly useful in combat. Schnoblin cleverly sourced the secondary ingredient from in-game fields, freeing up farming lots for other needs.

Workarounds and Shortcuts:
To maximize efficiency, implement workarounds and shortcuts in your training. Incomplete quests can provide unique processing methods to enhance the effectiveness of low-value herbs. Schnoblin leveraged this approach, accounting for a significant portion of their experience gains.

XP Preservation:
Maintaining an untrimmed Herblore cape adds to the challenge and prestige. Ensure that other skills do not reach level 99 while training Herblore. Carefully plan your training sessions to prevent unwanted experience gains in other areas.

Long-Term Goals:
Once you have achieved the ultimate Herblore milestone, consider setting new long-term goals. Schnoblin aims to obtain both the untrimmed Herblore cape and the Infernal Cape simultaneously, followed by a Max Infernal and untrimmed Herblore cape. These goals may seem ambitious, but they provide a sense of accomplishment and an exciting challenge.

Training Herblore as an Ultimate Ironman in Old School RuneScape is a demanding and intricate endeavor. Embrace the slow and calculated nature of the grind, and be prepared for the unique challenges it presents. Learn from the experiences of seasoned Ultimate Ironmen like Schnoblin, who have successfully conquered this formidable task. With OSRS gold provide by RSorder.com, you can join the ranks of accomplished Herblore masters in the world of Old School RuneScape.

Unveiling the Warlock Conundrum in WoW Classic SoD

As the dust settles in the realms of WoW Classic Season of Discovery (SoD), a peculiar dilemma surfaces among Warlocks. The narrative of Warlocks lagging behind in dungeon damage compared to other classes sparks debates and reflections. Is it an intrinsic flaw in the Warlock class or a nuanced challenge that beckons a closer examination?

The Perceived Disparity

Personal Experience: The journey through dungeons has left many Warlocks pondering their standing in the damage hierarchy. The perception is that, despite possessing pre-raid Best in Slot (BiS) gear at level 25, Warlocks struggle to match the damage output of counterparts such as Hunters, Paladins, and Mages. The overarching question lingers: Is this a systemic issue with the Warlock class or an individual struggle?

    Group Dynamics: A notable exception arises when a group comprises solely Warlocks, where the landscape shifts, and individual Warlocks find themselves at the helm of the damage charts. This anomaly prompts further exploration into the intricacies of class dynamics within diverse group compositions.

    The Fire Affliction Dichotomy

    Flawed Pre-BiS Guides: An interesting revelation emerges regarding pre-raid Best in Slot guides, which may lead Warlocks astray. The prevalent advice to focus on Affliction builds might be contributing to the perceived damage deficit. A counterintuitive approach suggests embracing the Fire specialization and acquiring Fiery Wrath gear for optimal performance.

    Embracing Fire: The Fire specialization entails harnessing spells like Lake of Fire, Incinerate, and Chaos Bolt, which, when complemented by fiery wrath gear, significantly elevate the Warlock’s damage potential. Phoenix gear, accessible and cost-effective, aligns with this fiery trajectory. The paradigm shift challenges preconceived notions about pre-raid gearing for Warlocks.

    Pet Dynamics and Damage Output

    The Succubus Revelation: Delving into pet dynamics, a surprising discovery unfolds—the Succubus emerges as the top choice for maximizing damage. Despite assumptions favoring the Imp due to fire damage boosts from talents, these benefits only apply to the Warlock and not the pet. The Succubus takes the spotlight, demonstrating its prowess in the Warlock’s fiery arsenal.

    A Glimpse into the Future: Shadow Burn Potential

    Spell Choices and Shards: An exploration into spell choices sheds light on the current insignificance of Shadow Burn in the Warlock’s rotation. However, as the paradigm shifts away from fiery wrath gear in the future, the potential of Shadow Burn begins to manifest. This foreshadows a time when Warlocks might step into raids armed with an abundance of shards, ready to unleash the latent power of Shadow Burn.

    Comparisons and Realities

    Warrior Dominance: A pragmatic acknowledgment emerges—while Warlocks may ascend in damage charts, they may not eclipse the sheer dominance of Warriors. The innate strengths of Warriors, particularly in the DPS department, remain unparalleled. The expectation for Warlocks to rival Warriors might be ambitious, but achieving a competitive edge within the class context remains feasible.

    Conclusion: Deciphering the Warlock Enigma

    As Warlocks grapple with the perceived damage disparities, a nuanced understanding emerges. The dichotomy between Affliction and Fire builds, coupled with the strategic choice of the Succubus as a pet, offers a pathway to redefine the Warlock narrative. The future holds promises of unleashing the untapped potential of Shadow Burn, signaling a dynamic evolution in Warlock playstyles. Whether Warlocks can ascend to the pinnacle of damage charts remains a compelling question, but the journey through WoW Classic SoD promises revelations and adaptations that may redefine their role in group dynamics.

    And if you want to get ahead of other players quickly and get more gaming experience, MMOexp.com can help, with cheap WOW Classic SoD gold and professional services to help you understand the game quickly and become stronger.

        Dominating the Battlefield: Guide to ESO’s Stamcro Build

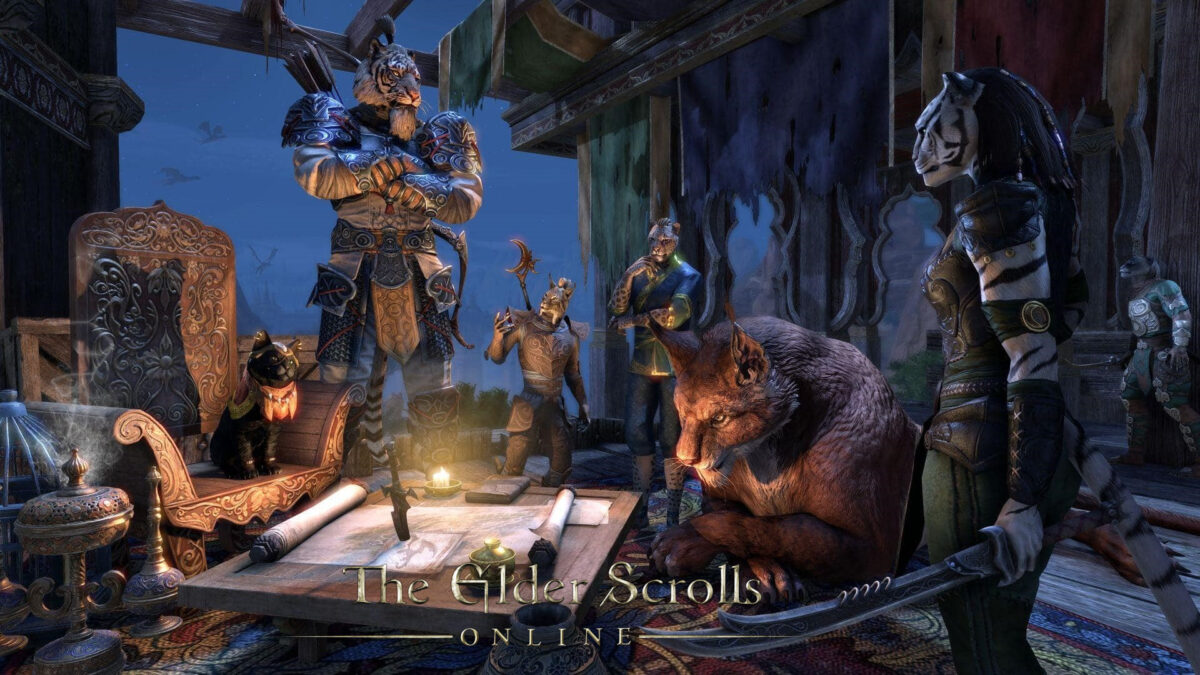
        In the realm of The Elder Scrolls Online (ESO), stamina-based characters, known as Stamcros, have emerged as a dominant force in both PvE and PvP scenarios. Their versatility, damage output, and survivability make them a formidable choice for players seeking to conquer the game’s challenges. This guide delves into the intricacies of a powerful Stamcro build, empowering players to unleash devastating attacks and become unstoppable on the battlefield.

        Character Build and Gear Setup

        Race: Imperial

        The Imperial race provides a crucial advantage in resource management, reducing the cost of all abilities, and allowing for sustained combat and spellcasting.

        Attributes:

        Health: 31 points
        Stamina: 33 points

        This allocation prioritizes Stamina for resource management and damage output while maintaining sufficient Health for survivability.

        Mundus:

        Warrior

        The Warrior Mundus further enhances weapon damage, maximizing the impact of your attacks.

        Food:

        Jewels of Misery

        This food choice provides a significant boost to Stamina recovery, Max Health, and Max Magicka, enhancing overall sustain.

        Gear:

        Front Bar:

        Head: Mayor Slock (Heavy Reinforced)
        Shoulders: Mayor Slock (Medium Well-Fitted)
        Chest: Dragon's Appetite (Heavy Reinforced)
        Hands: Dragon's Appetite (Medium Impenetrable)
        Waist: Druid Sash (Light Impenetrable)

        Back Bar:

        Legs: Dragon's Appetite (Heavy Reinforced)
        Necklace: Trainee (Bloodthirsty Trait)
        Ring: Death Dealers Fate (Bloodthirsty Trait)
        Staff: Badon's Perfected Ice Staff (Defending Trait)

        Weapons:

        Main Hand: Master's Perfected Mace (Nirnhoned Trait)
        Off Hand: Master's Perfected Mace (Sharpened Trait)

        Skills and Rotation

        Front Bar:

        Rending Slashes (Spammable)
        Camo Hunter (Buff)
        Crystal Weapon (Buff)
        Streak (Mobility/CC)
        Whirling Blades (Execute)
        Thriving Chaos (Ultimate)

        Back Bar:

        Blockade (Defense)
        Bone Shield (Defense)
        Obsidian Shard (Sustain)
        Summon Spectral Hurricane (Crowd Control)
        Soul Shriven Pact (Defense/Damage Shield)

        Rotation:

        Activate Camo Hunter to gain major savagery and prophecy for increased damage output.
        Apply Crystal Weapon to your weapon for additional physical damage on your next light or heavy attack.
        Engage the enemy with Rending Slashes, triggering your bleed effect and Dragon's Appetite stacks.
        Utilize Streak to close the gap or disengage from combat.
        When the enemy is low on health, unleash Whirling Blades to execute them.
        If facing multiple enemies or additional support is needed, activate Thriving Chaos for bleed damage and self-healing.

        Additional Tips and Strategies:

        Prioritize maintaining stacks of Dragon's Appetite for healing and damage amplification.
        Utilize Streak effectively to avoid unnecessary damage and position yourself advantageously.
        Adapt your skill selection and playstyle based on specific encounters and group compositions.
        Practice your rotation to ensure smooth execution and maximize your effectiveness in combat.
        Utilize Blockade and Bone Shield defensively to mitigate incoming damage.
        Employ Obsidian Shard for additional sustain and resource management.
        Use Summon Spectral Hurricane for crowd control and additional damage in larger engagements.
        Soul Shriven Pact provides a valuable damage shield and additional offensive power.

        Conclusion

        The Stamcro build offers a powerful and versatile option for players seeking to dominate in both PvE and PvP scenarios. By mastering its skills, rotation, and strategies, players can unleash devastating attacks, become formidable tanks, and conquer the challenges that await them in the realm of Tamriel.

        Buying ESO Gold from MMOexp is an amazing experience always. Cheap price and 24/7 delivery support and Live support. You would Love it!

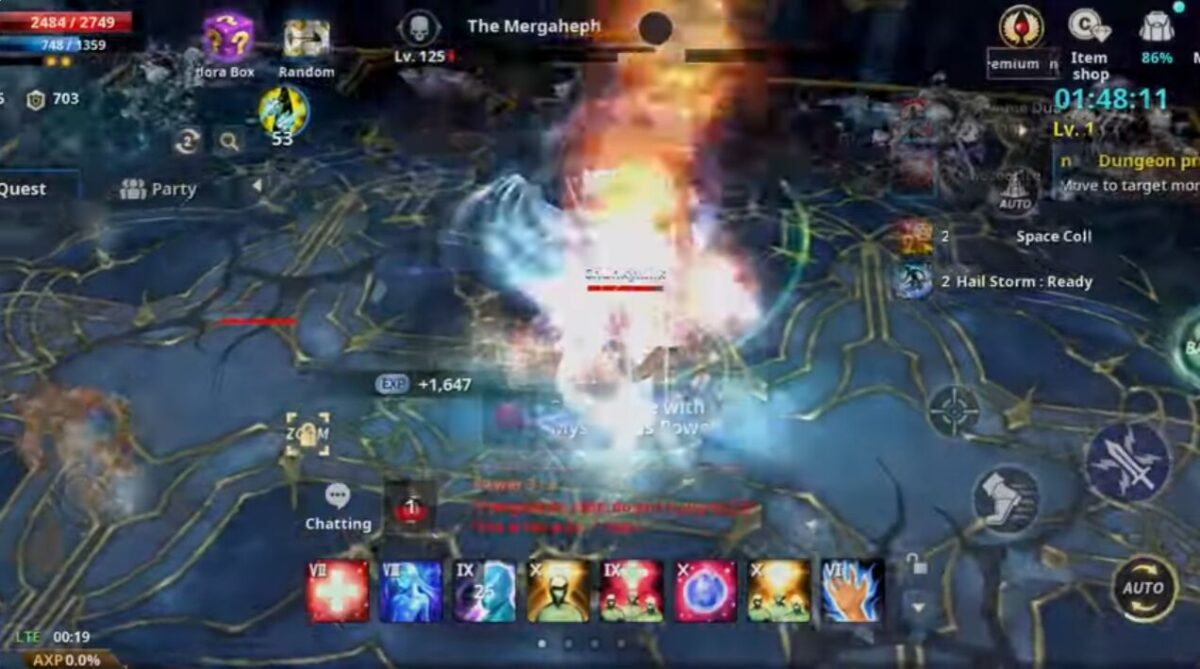
        CABAL: Return of Action Free Promo Codes and Redemption Guide

        Immerse yourself in the exhilarating world of CABAL: Return of Action, a mobile MMORPG developed by ESTsoft Inc. that beckons players to embark on epic adventures and conquer formidable challenges within the detailed realm of Nevareth. To enrich your gaming journey, the developers generously provide players with redemption codes, unlocking valuable in-game rewards. This guide offers a step-by-step walkthrough on redeeming CABAL: Return of Action free promo codes, ensuring you make the most of your gaming experience.

        How to Acquire Free Promo Redeem Codes in CABAL: Return of Action:
        To acquire free promo redeem codes in CABAL: Return of Action, employ the following strategies:

        Follow Official Channels:
            Stay connected with the game's official social media pages and website. Developers frequently share codes during events, updates, or special occasions.
            Sign up for newsletters and email subscriptions on the game's website to receive exclusive codes directly.
            Monitor in-game events as they may present opportunities to obtain codes as rewards.
        
        Community Engagement:
            Actively participate in the game's community and forums. Fellow players may share codes they've come across during their gameplay.
            Engage in discussions and stay informed about player-driven initiatives that involve code sharing.
        
        Stay Informed:
            Keep abreast of official game news and announcements. Developers often release codes on special occasions, celebrations, or milestones.
            If you pre-registered for CABAL: Return of Action, check the email address provided during pre-registration for promo codes. Check your spam folder as well, as sometimes important emails may land there.

        CABAL: Return of Action Free Promo Codes and Rewards:
        As of now, there are no active redeem codes available for CABAL: Return of Action. Regularly check this space, as new codes are likely to be released. Be prompt in using codes, as they may have expiration dates or limited availability.

        Redeeming Free Promo Codes in CABAL: Return of Action:
        Follow these straightforward steps to redeem promo codes in CABAL: Return of Action:

        Launch the Game:
            Open CABAL: Return of Action on your device to initiate the redemption process.
        
        Access the Menu:
            Locate the Menu button within the game interface, usually positioned at the top right corner.
        
        Navigate to Options:
            Inside the Menu, select the Options tab to access various settings.
        
        Find Redeem Coupon:
            Within the Options menu, look for an option labeled Info. Inside the Info section, locate the button named Redeem Coupon.
        
        Enter the Code:
            Tap on the Redeem Coupon button to open a text box. Carefully input the promo code, ensuring accuracy.
        
        Register the Code:
            After entering the code, tap the Register button to submit it for verification.
        
        Check Your Mailbox:
            If the code is valid, you'll receive a confirmation message. The rewards will be sent to your in-game mailbox.
        
        Collect Your Rewards:
            Visit your in-game mailbox to collect the unlocked rewards, which may include in-game currency, items, or other bonuses.

        At present, there are no active codes for CABAL: Return of Action. Rest assured, this space will be updated with any new codes in the future. Stay tuned for the latest updates to enhance your gaming experience in Nevareth.

        About Cabal Online, Cabal Mobile Gems, Cabal RoA Gems, and more in MMOexp.com, you can follow us and find more funny here.

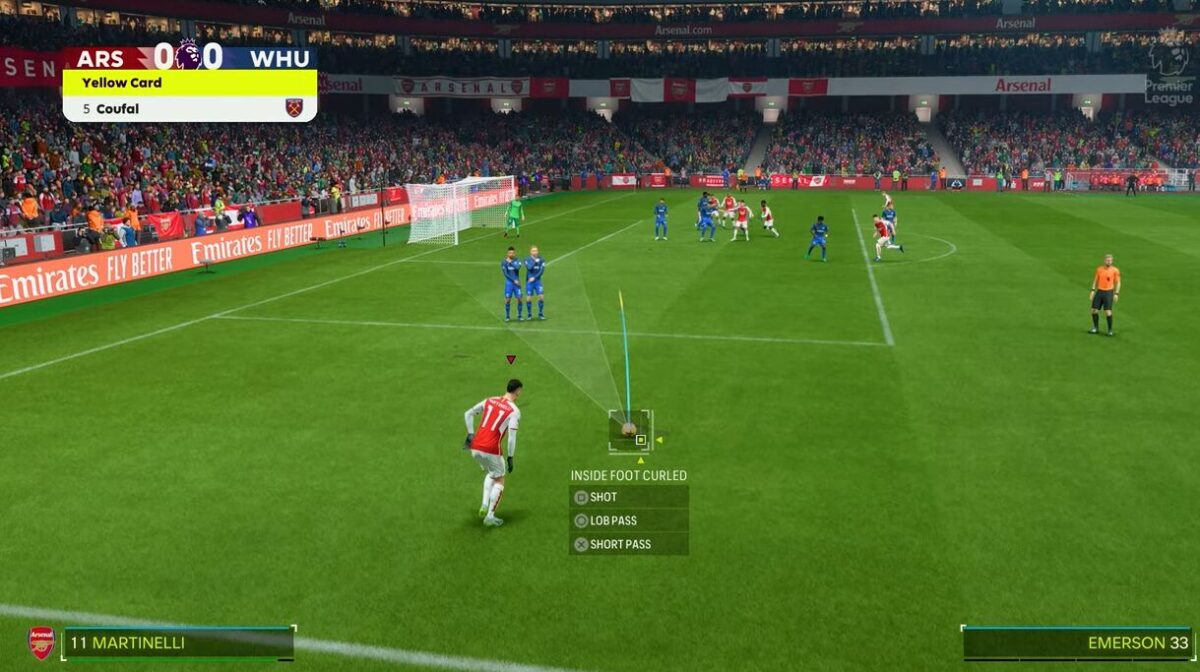
        FUT 24 Chemistry Demystified: Inclusion of Women’s Players, Icons, and More

        Boosting your EA FC 24 Ultimate Team to its full potential requires a comprehensive understanding of the mode’s key features. Whether you engage in competitive play through Division Rivals and UT Champs or prefer offline modes like Squad Battles, grasping the intricacies of Evolutions, new PlayStyles, and the traditional Chemistry system is essential.

        The Chemistry system plays a pivotal role in determining the performance and cohesion of your team on the field, with higher chemistry levels translating to better overall team dynamics. For those embarking on their EA FC 24 journey, it’s crucial to note that FIFA 23 brought about a substantial overhaul of the chemistry system, and EA Sports has retained these changes in the latest edition.

        Here’s a breakdown of everything you need to know about the Chemistry System in EA FC 24 Ultimate Team.

        Is there a new Chemistry system in EA FC 24?

        EA FC 24 maintains the Chemistry system introduced in FIFA 23, with subtle adjustments rather than a complete overhaul. Players still establish links based on the same leagues and nations, but now, a new dimension has been added: Women’s footballers can link with men’s footballers who share the same affiliated club. For instance, Sam Kerr can form a link with Enzo Fernandez, both playing for Chelsea.

        EA FC 24 changes to Icon Chemistry

        In EA FC 24, Icons contribute one Chemistry point to players from any league and two points when connecting players of the same nationality. This adjustment addresses concerns from the community that Icons felt underpowered in the revamped Chemistry system introduced in FIFA 23, restoring their significance in the Ultimate Team meta.

        How does Chemistry work in EA FC 24 Ultimate Team?

        The Chemistry system in EA FC 24 Ultimate Team operates on familiar principles from previous years, considering five key factors to achieve the highest chemistry score:

        Player Position
        League
        Club
        Nationality
        Manager Nationality and League

        To maximize Chemistry in your team, it’s crucial to align players based on the same League, Club, or Nationality while ensuring each player occupies their designated position. Additionally, selecting a manager who shares both nationality and league with the majority of players enhances team cohesion. Chemistry remains instrumental in elevating player attributes, enhancing team performance, and solidifying the overall synergy of your squad. Of course, this requires a lot of effort, FC 24 coins and skill on your part. Good luck.

        New World – My Personal M3 Tank Build

        I’d like to share my personal M3 tank build, which has proven to be highly effective in Mutator expeditions. Here’s the breakdown of the build:

        Gear:
        Enchanted Ward
        Physical Aversion
        Thrust Slash Blunt Condition

        Gems:
        I use a combination of full Diamond and Onyx gems. The choice of gems can vary depending on the specific mutation you’re facing. You might consider mixing gems to counter different types of physical damage, such as Jasper for thrust, Moonstone for slash defense, and so on. For elemental defense, you can rely on your amulet and elemental gems.

        Accessories:
        Elemental Amulet
        Hated Earrings (providing 0.52% health restore per second)
        Blooddrinker Ring (-25% damage taken, while gaining 32.1% life steal, with a bonus perk extending bleeding by +33% time).

        Weapons:
        The Butcher with a taunt gem slot
        Greatsword with refreshing move and the perks Hated and Keenly Jagged Bleeding.
        Kite Shield with refreshing move and a perk granting +30% damage empowerment for 5 seconds (stackable up to 5 times), along with a -10% cooldown reduction on kill with a 1-second cooldown.

        Why does this build work well?
        You allocate your attribute points into 300 Strength and 300 Constitution since most of your damage output comes from Whirling Blades and bleeding effects.

        Thanks to The Butcher, you can inflict 7-10 bleeding stacks, dealing 120-200 damage per tick initially, and with a 350-450 damage per tick when you stack your shield’s perk, granting a 150% damage increase for 5 seconds. Refreshing Move on your shield and a skill tree perk make Whirling Blade available every 2-3 seconds, dealing a constant stream of damage.

        For aggro control and damage blocking, you utilize the Greatsword, occasionally using taunts. The bleeding and Whirling Blade damage significantly delay any potential threat to your aggro.

        Various absorption effects provide substantial percent-based defenses against different damage types. Additionally, the Blooddrinker accessory keeps you alive as it can heal you nearly as effectively as an M3 healer, depending on the number of enemies.

        If you wish to focus more on damage output, you can consider the following modifications:

        Blooddrinker accessory along with a +7.2% Slash damage perk.
        Runeglass artifact, providing armor and +2% physical damage reduction, and an additional +1% melee damage.

        This adjustment reduces your damage mitigation from -25% to -12.8%.

        Artifacts:
        Dark Void Chest Plate
        Blooddrinker
        The Butcher

        Skills:
        Shield and Sword:

        Whirling Blades
        Taunt
        Backstab (-25% cooldown on all active skills on hit)

        Greatsword:
        Slam Sword in Ground (taunt)
        Shield (taunt)
        The skill that removes buffs and applies Rend.

        This build offers a versatile approach for tanking and dealing damage in M3 Mutator expeditions. It maximizes your potential to hold aggro, dish out substantial damage over time through bleeds, and stay resilient with various defenses and life steal. If you also want to get M3 Tank Build, please prepare enough New World gold and equipment. MMOexp.com can help you.